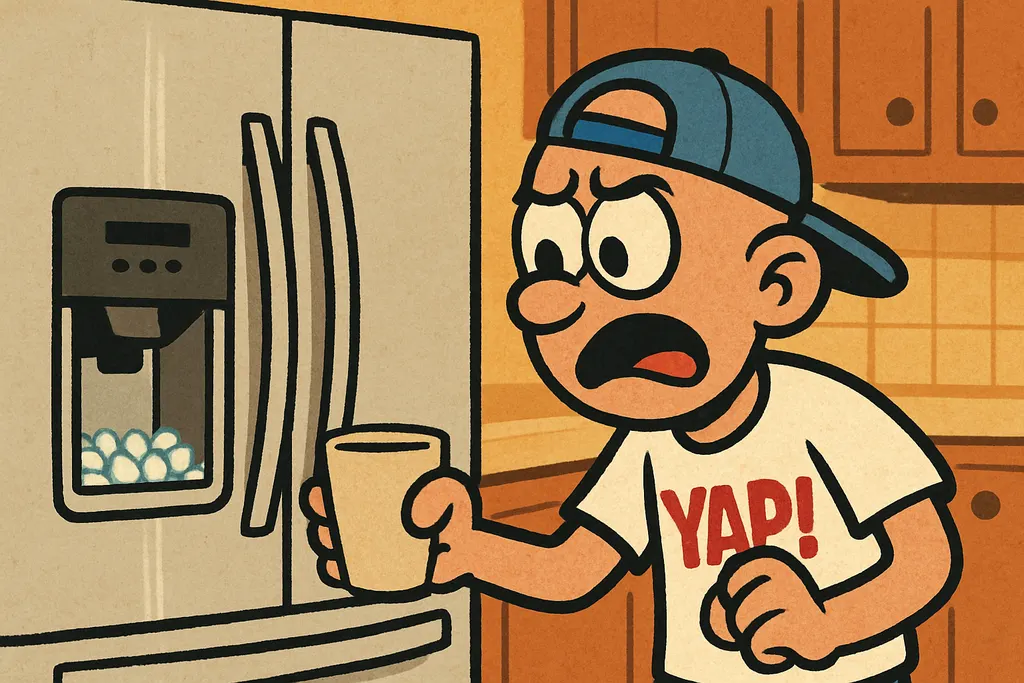
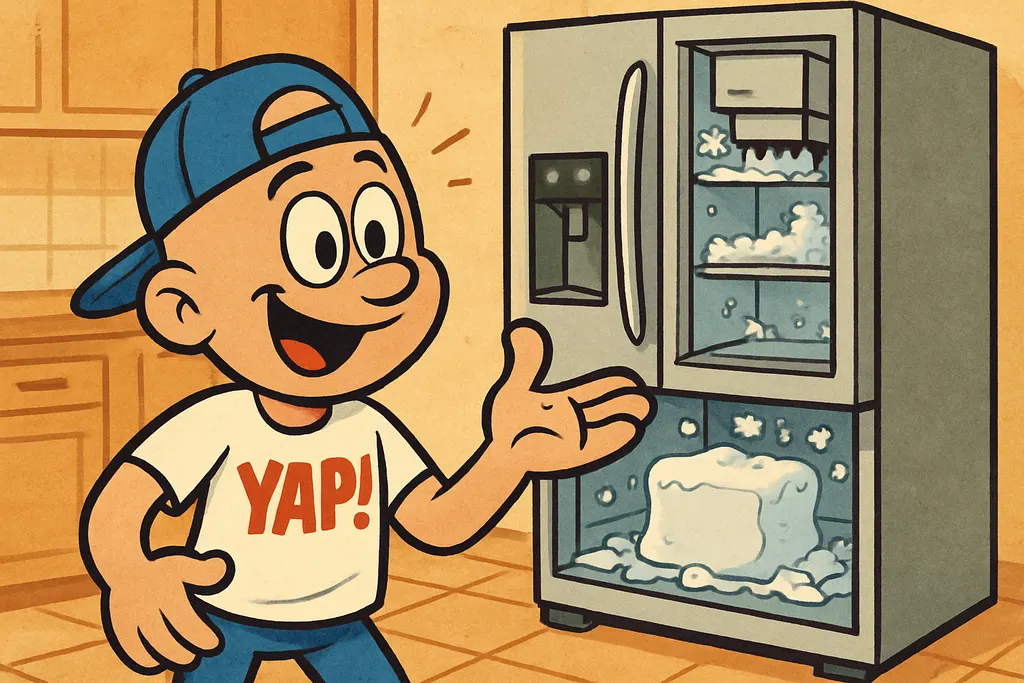
You open the freezer to grab some ice and instead find a solid glacier sitting under your ice maker. Not ideal, bro.
What's Actually Going On
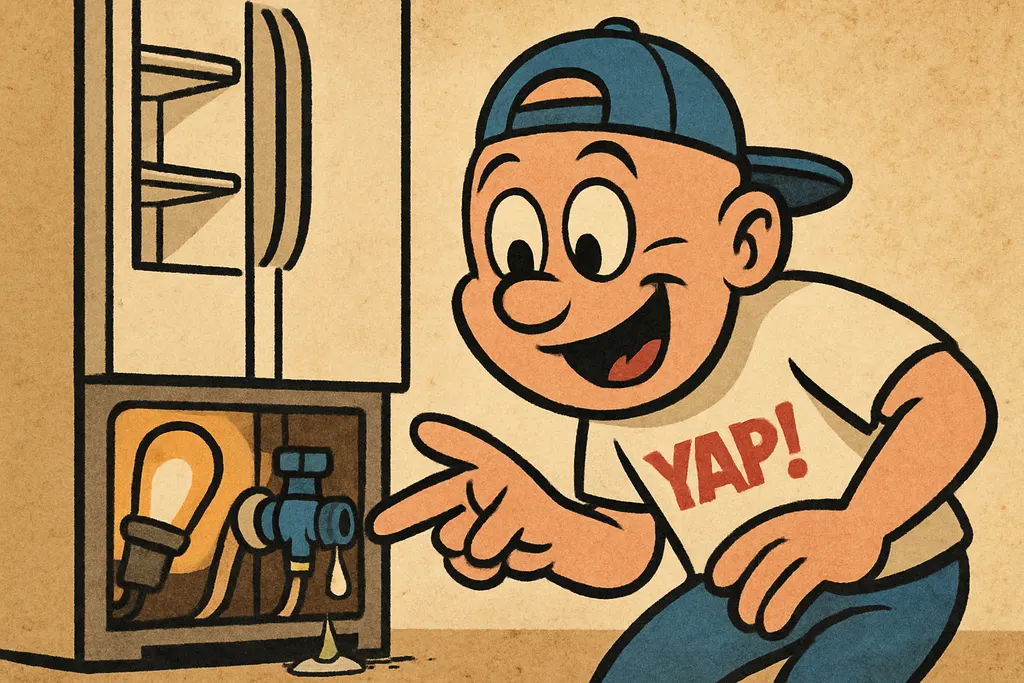
That block of ice forming in your freezer compartment isn't a weird one-time fluke, it's a classic symptom of a Maytag refrigerator ice maker leaking, and nine times out of ten the culprit is a failing water inlet valve. Here's the deal: the water inlet valve is a solenoid-controlled valve that opens to let water flow into the ice maker when it calls for a cycle, then shuts off tight when the cycle's done. When it starts to go bad, it doesn't shut off all the way. It drips. Slowly. Constantly. And all that slow drip freezes right there in the bottom of your freezer.
The part you need for most Maytag refrigerators with this problem is W11175771, that's the OEM water inlet valve, and it fits a solid range of Maytag side-by-side and French door models. If you've got water pooling under the ice maker tray or a sheet of ice building up on the freezer floor, this valve is the first place to look. Don't let the part number scare you; replacing it is genuinely a beginner-friendly repair.
One thing people miss: a leaky inlet valve isn't always gushing water. Sometimes it's just a slow weep that freezes before you even notice moisture. So if your ice maker is making oddly shaped, fused-together ice cubes or the ice bin has a solid chunk frozen at the bottom, that's the valve whispering "I'm done, fam."
The Fix
Here's how to swap out the water inlet valve on your Maytag refrigerator and stop that ice maker water leak for good.
- Unplug the refrigerator. Non-negotiable. Do this first.
- Shut off the water supply line, usually a saddle valve or angle stop under or behind the fridge.
- Pull the fridge away from the wall so you can access the back panel. The water inlet valve is mounted to the lower rear of the cabinet.
- Remove the back access panel, typically 4-6 quarter-inch hex screws.
- Snap a photo of the wire harness connections and the water line routing before you disconnect anything. Future you will thank present you.
- Disconnect the water supply line, the outlet tube going to the ice maker, and the two wire harness connectors from the old valve.
- Remove the mounting screw(s) holding the valve bracket to the cabinet.
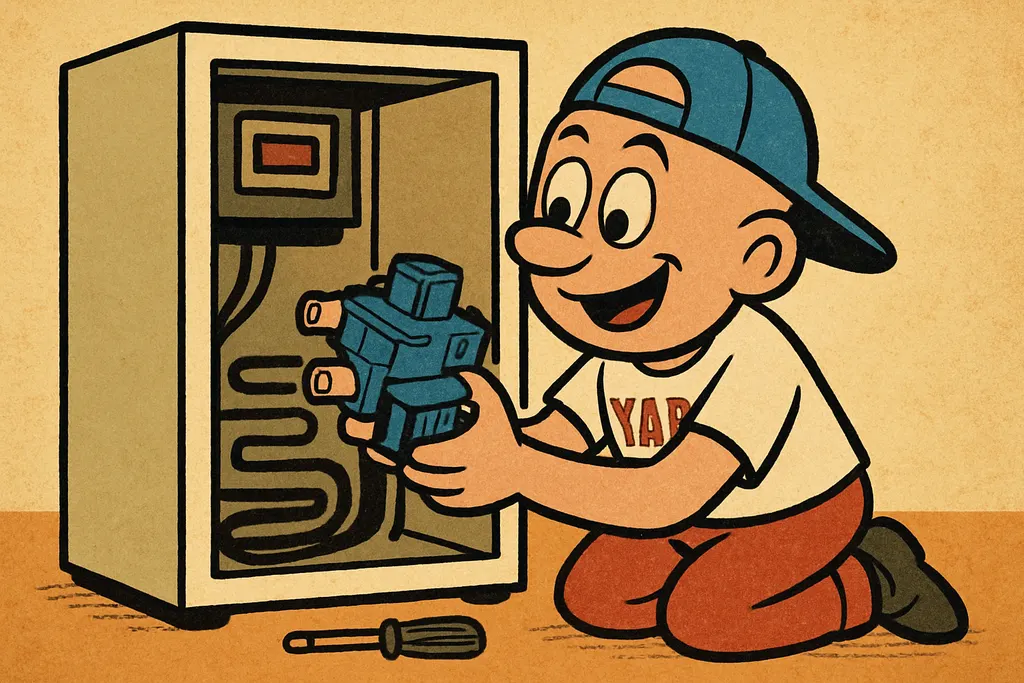
- Install W11175771** in reverse order, mount it, reconnect the harnesses, reconnect the lines. Make sure the supply line fitting is hand-tight plus a quarter turn; don't gorilla it.
- Replace the access panel, restore water, plug it back in, and let the ice maker run a cycle. Watch for drips. Spoiler: there won't be any.
The whole job takes most people 30-45 minutes. You'll need a quarter-inch nut driver, a Phillips screwdriver, and maybe a small adjustable wrench for the water line fitting.
When to Call YAP vs. DIY
DIY this one. If you can swap a water line and unplug a wire harness, you can handle W11175771. It's one of the more forgiving refrigerator repairs out there, no special tools, no refrigerant, no drama.
Call YAP if you replace the valve and still see ice building up, at that point you may be looking at a bad ice maker fill tube, a defrost drain issue, or the ice maker assembly itself, and we'll help you figure out exactly what's next without guessing.
Stop by the shop in Piedmont or text us at 405-876-8100 and we'll have W11175771 ready for you, no waiting on a shipping box that may or may not show up before your freezer turns into an ice rink.
Part #W11175771, Water Inlet Valve
Text us the part number and your model #, and we'll check stock + price for pickup at the counter in Piedmont. No call centers, no hold music.
Text to order →