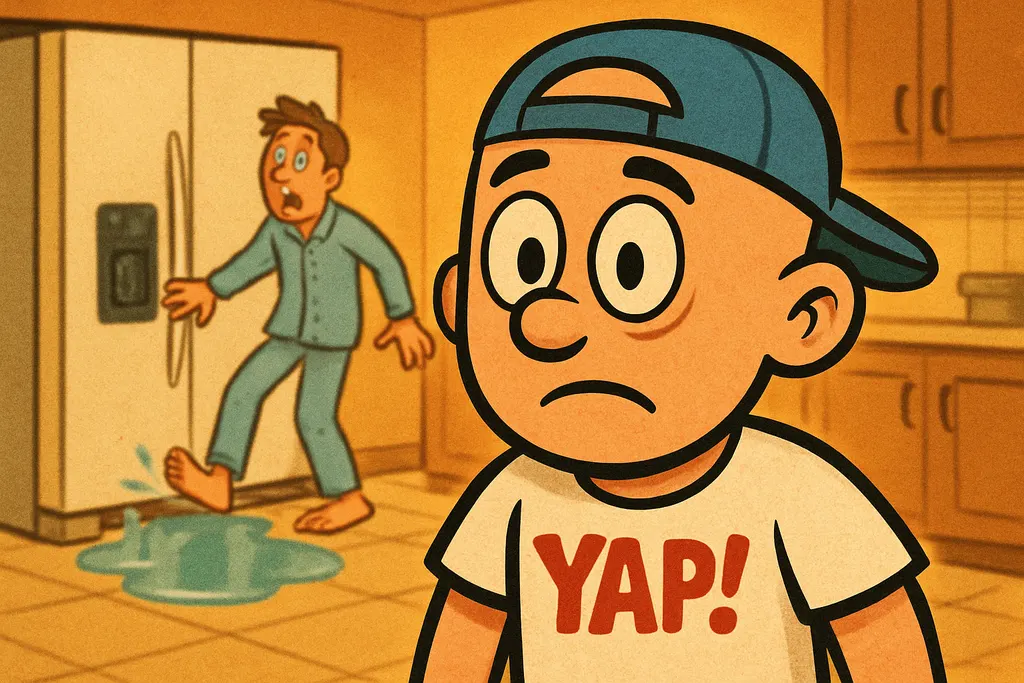
You wake up, shuffle to the kitchen, and step in a cold puddle, yeah, we've all had that morning. If your GE refrigerator is leaking water near the back or side where the ice maker supply line connects, stop mopping and start diagnosing.
What's Actually Going On
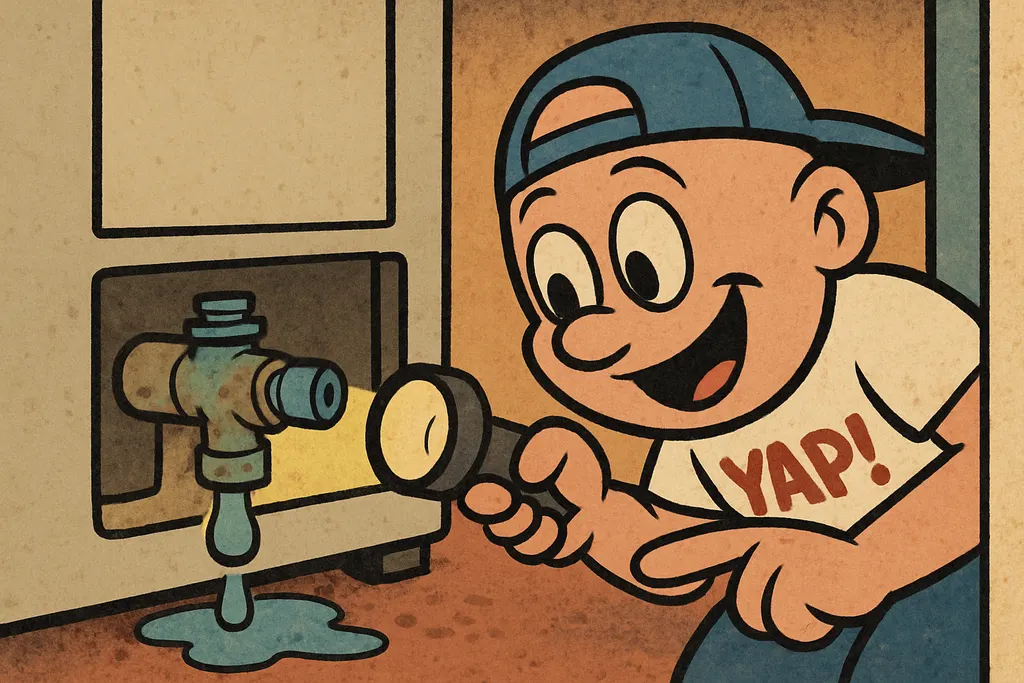
Here's the deal: that water on your kitchen floor almost always traces back to one of a few culprits, a cracked supply line, a loose fitting, or (most likely) a failing GE water inlet valve. The inlet valve is the gatekeeper between your home's water supply and your fridge's ice maker and water dispenser. It's a solenoid-controlled valve, which means it opens and closes electronically every time you grab a glass of water or the ice maker calls for a fill cycle. Do that ten thousand times over several years and the rubber diaphragm inside starts to wear, crack, or just plain give up.
When the diaphragm fails, you've got water that won't fully shut off, it seeps past the valve seat, drips down the back of the fridge, and pools on your floor right at the base near the supply line connection. People see that puddle and immediately think "busted supply line," but if the line itself looks fine and the fittings are tight, the valve is your guy. GE refrigerators are notorious for this specific failure mode, and the part that covers the widest range of GE side-by-side and bottom-freezer models is WR57X10051.
It's also worth knowing that a failing water inlet valve doesn't always go all at once. Sometimes you'll notice the ice maker getting sluggish or the water dispenser dribbling before the full-on leak shows up. That's the valve half-failing, enough to annoy you but not enough (yet) to flood the floor. If you're seeing any combo of weak dispenser flow, slow ice production, and refrigerator water on floor, that valve is screaming at you.
The Fix
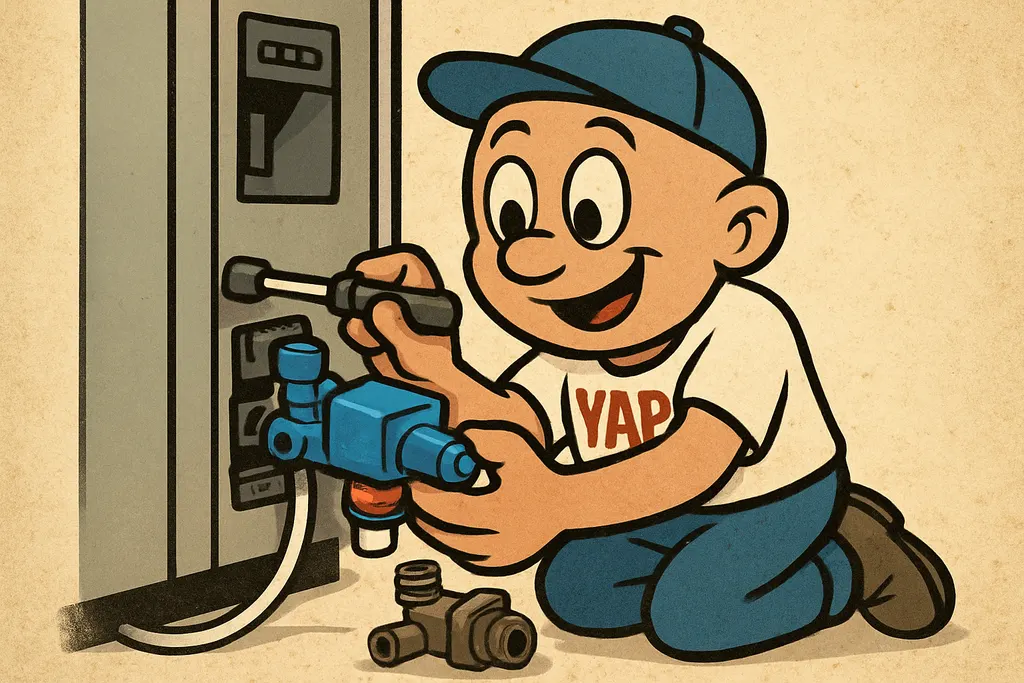
Good news: this is a legitimate DIY repair if you're comfortable with a quarter-inch nut driver and can tolerate ten minutes without water to your fridge. Here's how it goes:
- Pull the fridge away from the wall and unplug it. Safety first, always.
- Shut off the water supply at the saddle valve or shut-off behind the fridge.
- Remove the lower back access panel, usually 4-6 Phillips screws.
- Disconnect the water supply line from the inlet valve. Have a towel ready; there's always a little drip.
- Unplug the wire harness connectors from the solenoid coils on the valve.
- Unbolt the old valve (usually one or two quarter-inch hex screws into the fridge frame).
- Install the new WR57X10051** by reversing those steps, bolt it in, plug in the harnesses, reconnect the supply line.
- Turn the water back on slowly and check for leaks before you push the fridge back.
- Plug the fridge in, give the ice maker about 24 hours to cycle back up, and you're done.
The WR57X10051 runs around $35-$55 depending on where you source it. Stop by and we'll get you sorted same-day.
When to Call YAP vs. DIY
DIY it if the supply line is intact, the fitting is dry, and your leak is coming from the valve body itself, that's a clean swap and you'll be done in under 30 minutes.
Call YAP if you pull that valve and find the plastic housing is cracked or the supply line fitting is corroded, that changes the parts equation and we want to make sure you walk out with everything you need in one trip.
Swing by the Piedmont shop or text us at 405-876-8100, we stock WR57X10051 and we'll even pull up your fridge's model number to confirm fitment before you buy.
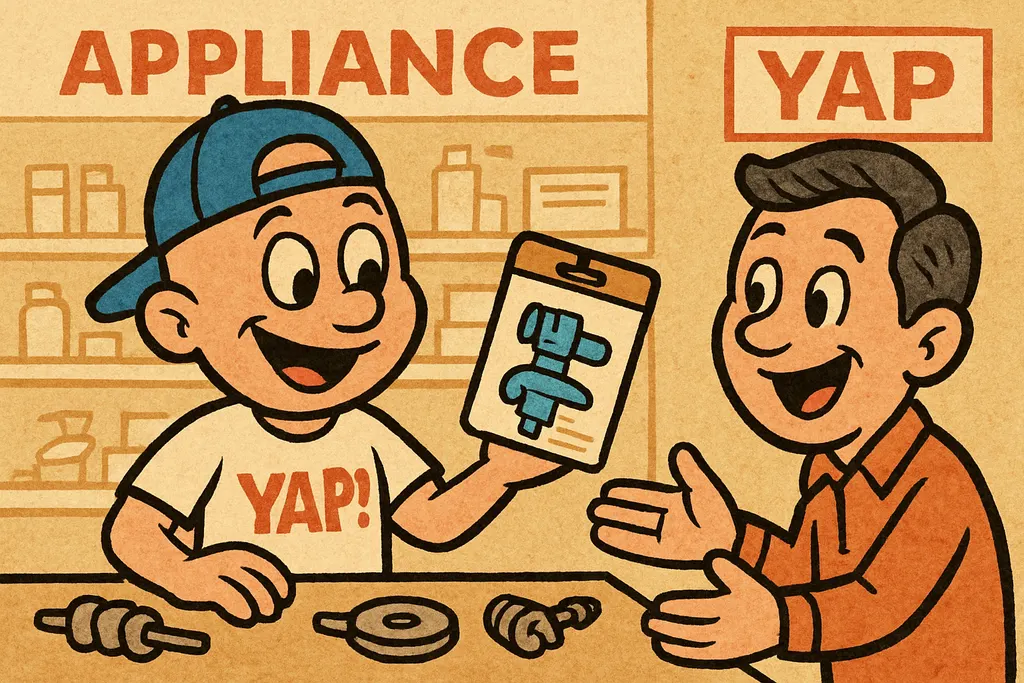
Part #WR57X10051, Water Inlet Valve
Text us the part number and your model #, and we'll check stock + price for pickup at the counter in Piedmont. No call centers, no hold music.
Text to order →