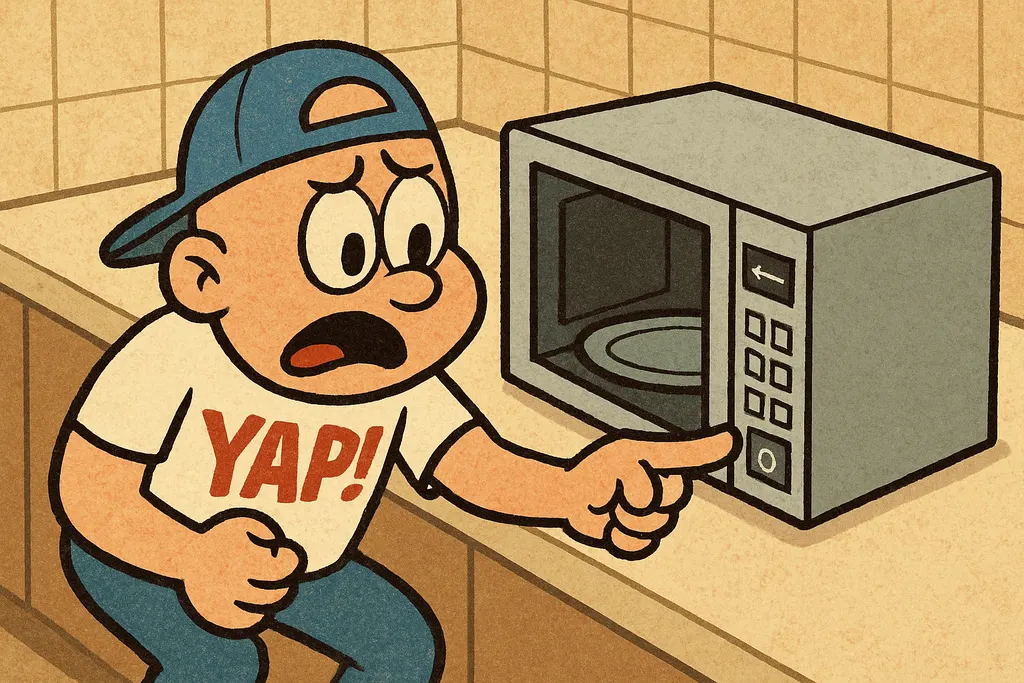
Your microwave is dead — no hum, no light, no turntable — or worse, it's sparking every time you close the door. Before you drag that thing to the curb, hear me out.
What's Actually Going On
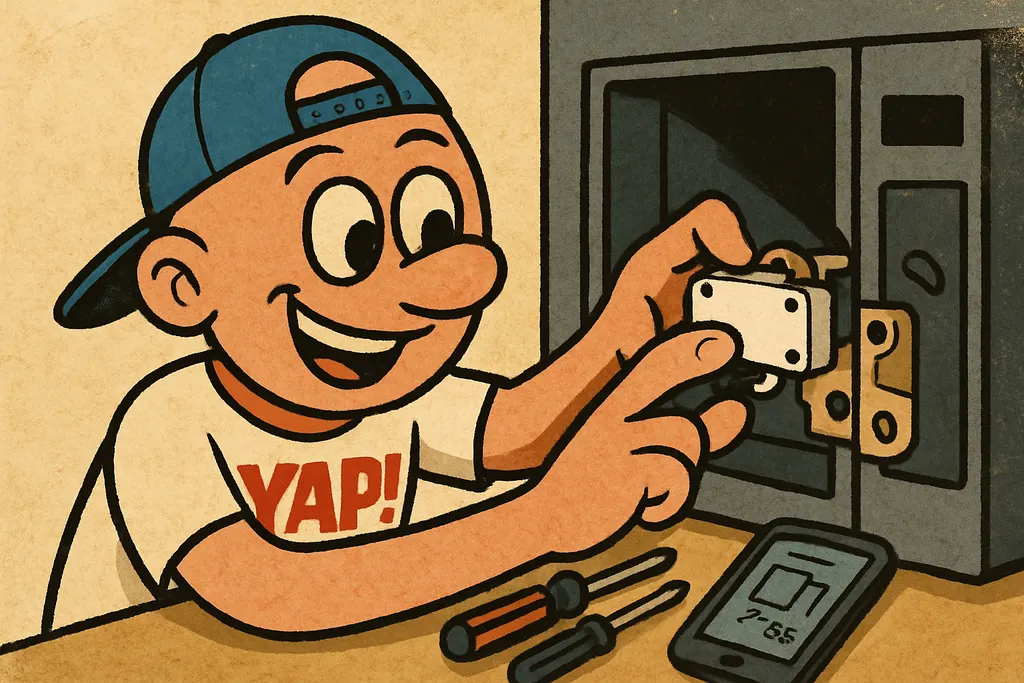
The microwave door microswitch is the unsung hero of your kitchen appliance lineup. Most microwaves have two or three of these tiny switches stacked right inside the door latch assembly, and every single one of them has to click in a specific sequence when you close the door. If even one of them fails — and they do fail, usually from just plain wear after thousands of door cycles — your microwave reads that as "door is open" and refuses to do anything. Full stop.
Here's the thing about microwave door switch repair that trips people up: the symptoms look totally different depending on which switch is the culprit. A failed primary switch usually means no power at all — dead panel, no response. A failed secondary or monitor switch? That one can actually blow your fuse, and in some cases cause the unit to arc or spark when you try to run it. So if your microwave looks like it's possessed or completely lifeless, don't assume the worst before you've checked the switches.
The microwave microswitch itself is one of the most common and most affordable parts we sell. We're talking a few dollars per switch, typically under $15 even if you need to replace all three. Compared to a new microwave — even a budget one running $100 or more — this repair is a no-brainer if the unit is otherwise solid.

The Fix
Fair warning: microwaves store a dangerous electrical charge in their capacitors even when unplugged. Let the unit sit unplugged for at least 30 minutes before you open it up, and if you're not comfortable around high-voltage components, this is a good one to hand off. But if you're confident in basic appliance repair, here's the play:
- Unplug the microwave and let it sit for 30+ minutes.
- Remove the outer cabinet — usually a few screws on the back and sides.
- Locate the door latch assembly on the front panel, right where the door hooks in.
- Disconnect the wires from each microswitch (take a phone photo first so you know which wire goes where).
- Use a multimeter set to continuity mode — each switch should click and register continuity when you press the button manually. Any switch that doesn't? That's your bad actor.
- Pull the failed switch, note the terminal configuration (COM, NO, NC), and grab a replacement door microswitch that matches.
- Install the new switch, reconnect the wires per your photo, button up the cabinet, and test.
Bring the old switch into the Piedmont shop if you're not sure what to match — we can eyeball it and pull the right one off the shelf.
When to Call YAP vs. DIY
DIY this one if you're comfortable using a multimeter and following basic safety steps around unplugged appliances — the microwave not working fix really is that straightforward once the cabinet is open, and the parts cost is laughably low.
Come see us if you've already replaced the switch and your microwave is still dead — at that point you may have a blown fuse (also cheap and easy, and we stock those too) or a control board issue that needs a second set of eyes.
Look, a broken microwave microswitch is the most common reason a microwave stops working, and it costs less than a large pizza to fix. Don't let the appliance store talk you into a new unit before you've spent ten bucks on a door switch. Swing by the Piedmont shop, pull up your microwave's model number on your phone, and let's get you sorted. Or just text us at 405-876-8100 and we'll tell you exactly what you need before you even make the drive.

Find your exact part.
Tell us your model number and what's broken — we'll match the OEM part, price, and availability in under 5 minutes.
Find My Part →