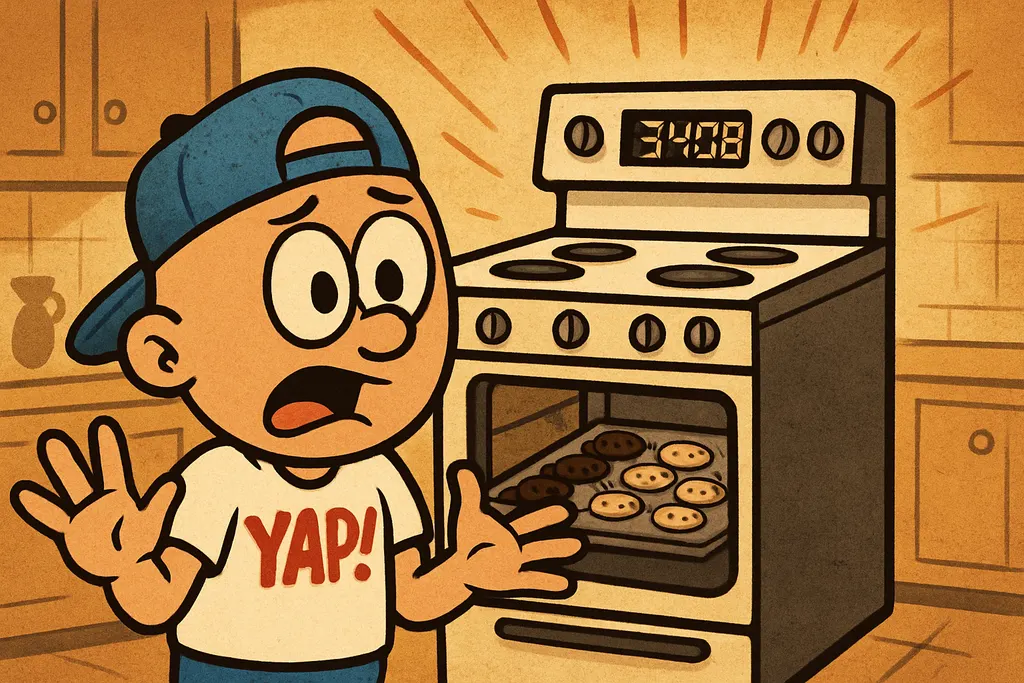
Your GE range promised you perfectly baked casseroles and golden cookies — instead you're getting burnt edges, raw middles, and a display that looks like it's having an existential crisis.
What's actually going on
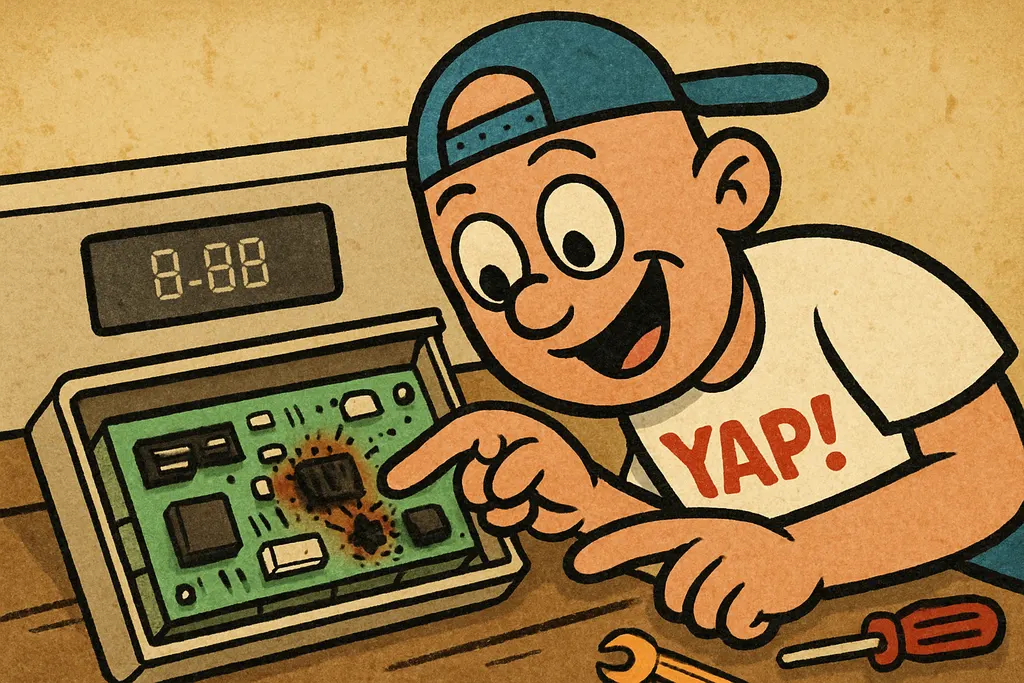
That erratic behavior — wrong oven temperatures, uneven baking, numbers flickering on the display — almost always points back to one culprit: the GE oven control board. Specifically, we're talking about the electronic oven control (EOC), the brain of your range that tells the bake and broil elements when to fire, how long to run, and what temperature to hold. When it goes haywire, everything downstream goes haywire too.
Now before you assume it's the control board, let's be real for a second. If your oven is just running cold or hot by a consistent 25-50 degrees, that's a calibration issue you can fix in the settings menu — no parts needed. But if you're seeing wild temperature swings, elements cycling off too early, error codes flashing, or display segments going dark or scrambled, the board itself is failing. Those are classic signs the EOC is toast.
On GE electric ranges, the part you're after is WB27T11311 — the Electronic Oven Control Board. This board sits behind the control panel and manages every function your oven performs. Capacitors fail, solder joints crack from heat cycling, and relays burn out over time. It's not a matter of if, it's a matter of when — especially on ranges that have been running hard for five-plus years.
The fix
This repair is totally DIY-friendly if you're comfortable with basic appliance work. Here's how it goes:
- Unplug the range from the wall outlet or flip the breaker. No shortcuts here, bro — this thing runs on 240 volts.
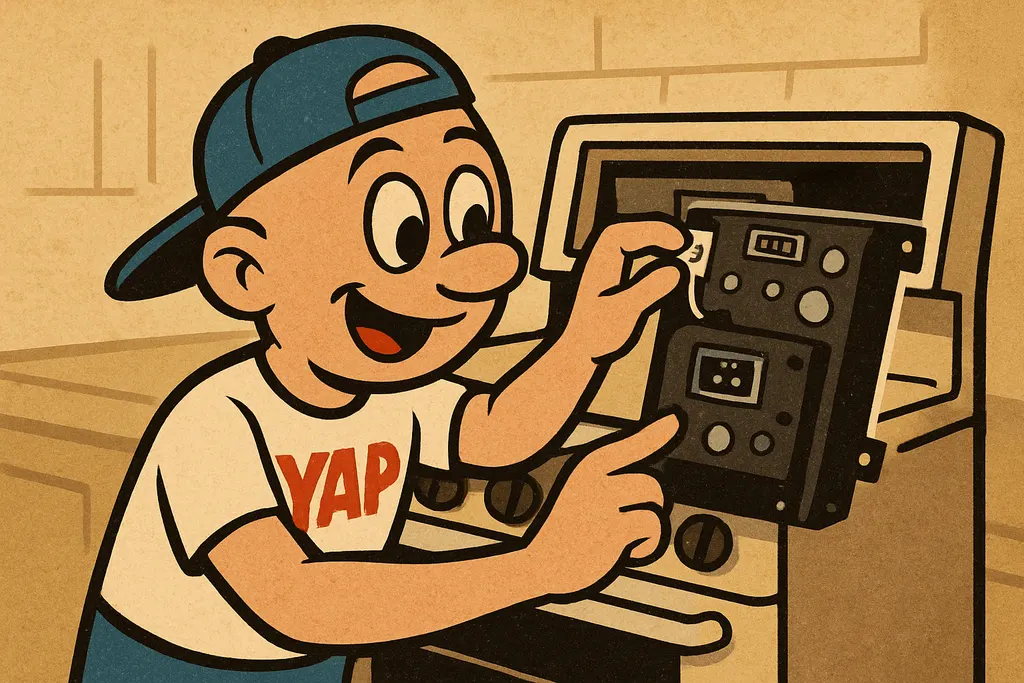
- Remove the back panel of the control console. Usually 4-6 Phillips screws hold it in place.
- Photograph the wiring harness connections before you disconnect anything. Seriously, take the picture. Future you will thank present you.
- Disconnect the wiring harnesses from the old control board — they're typically tabbed connectors that release with a squeeze and a pull.
- Unscrew the old board from the mounting bracket (usually 4 screws) and set it aside.
- Mount the new WB27T11311**** onto the bracket, reconnect the harnesses using your photo as reference, and reinstall the console panel.
- Restore power and run a bake cycle to confirm the display is stable and temperatures are tracking correctly.
The whole job typically takes 30-45 minutes. No soldering, no special tools beyond a screwdriver set and a phone camera.
When to call YAP vs DIY
DIY it if you've replaced appliance parts before, you're comfortable working around wiring connectors, and you've already ruled out simpler fixes like temp calibration or a bad temperature sensor.
Call or swing by YAP if your display is showing specific error codes you can't decode, or if you're not sure whether the board or the oven temperature sensor (RTD) is actually the problem — we can help you figure that out before you spend money on the wrong part.
We stock WB27T11311 at the Piedmont shop and we can usually get it in your hands same day. No waiting on a box from across the country. Swing by Yukon Appliance Parts on the Piedmont side or text us at 405-876-8100 and we'll have it ready at the counter.
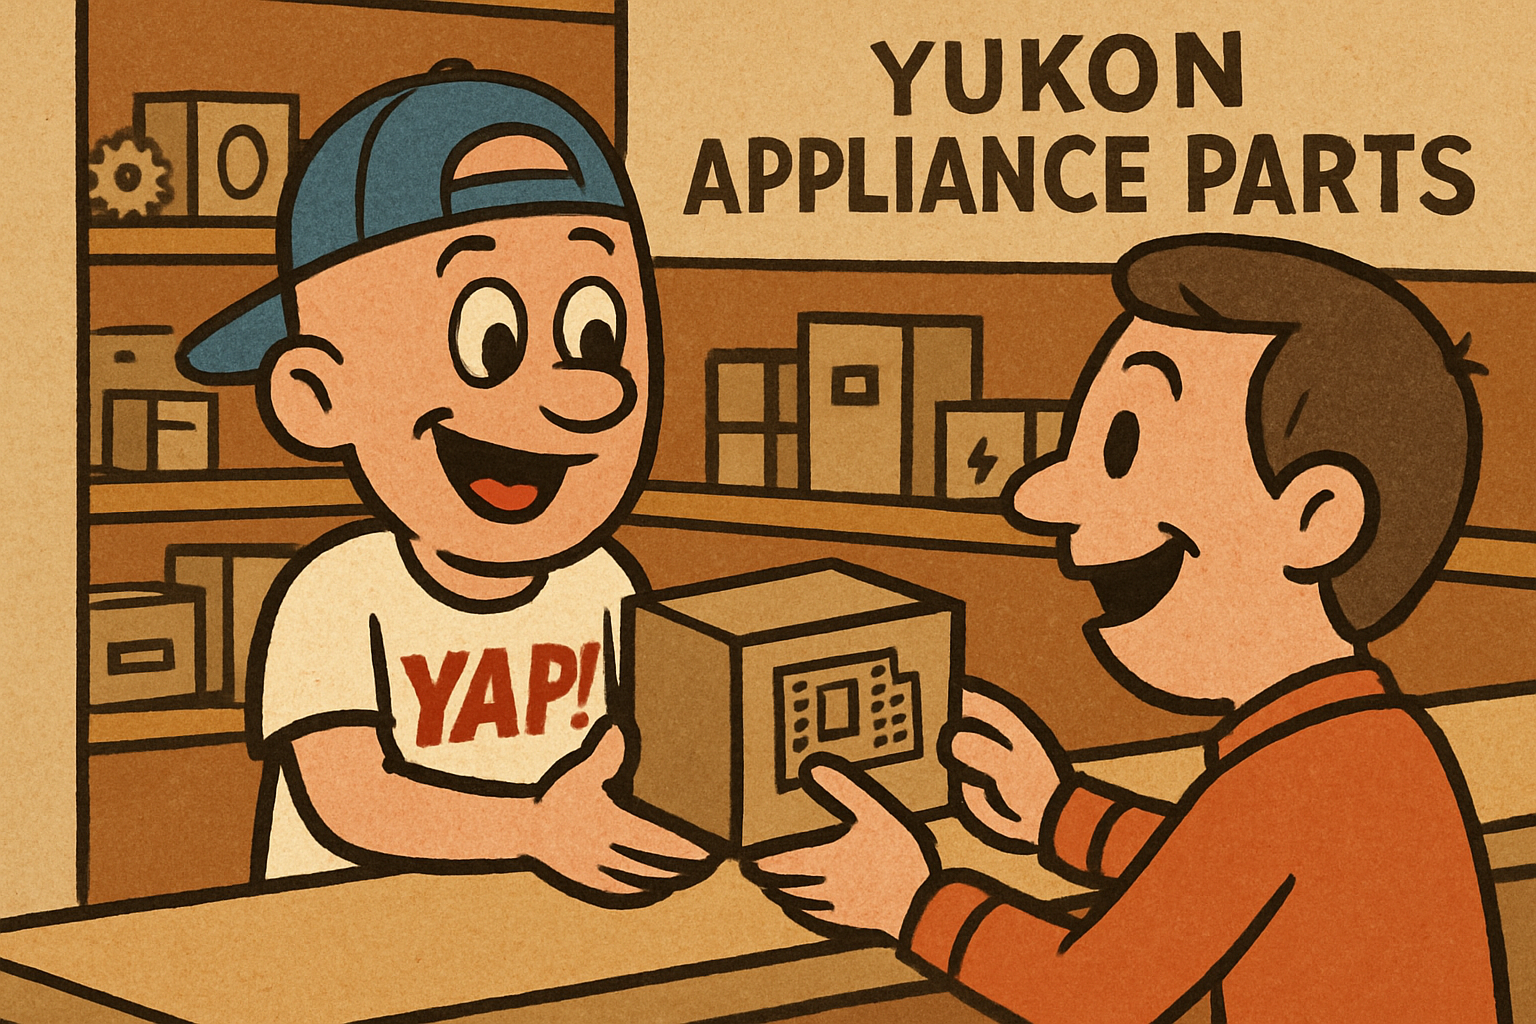
Part #WB27T11311 — Electronic Oven Control Board
Text us the part number and your model #, and we'll check stock + price for same-day pickup in Piedmont. No call centers, no hold music.
Text to order →