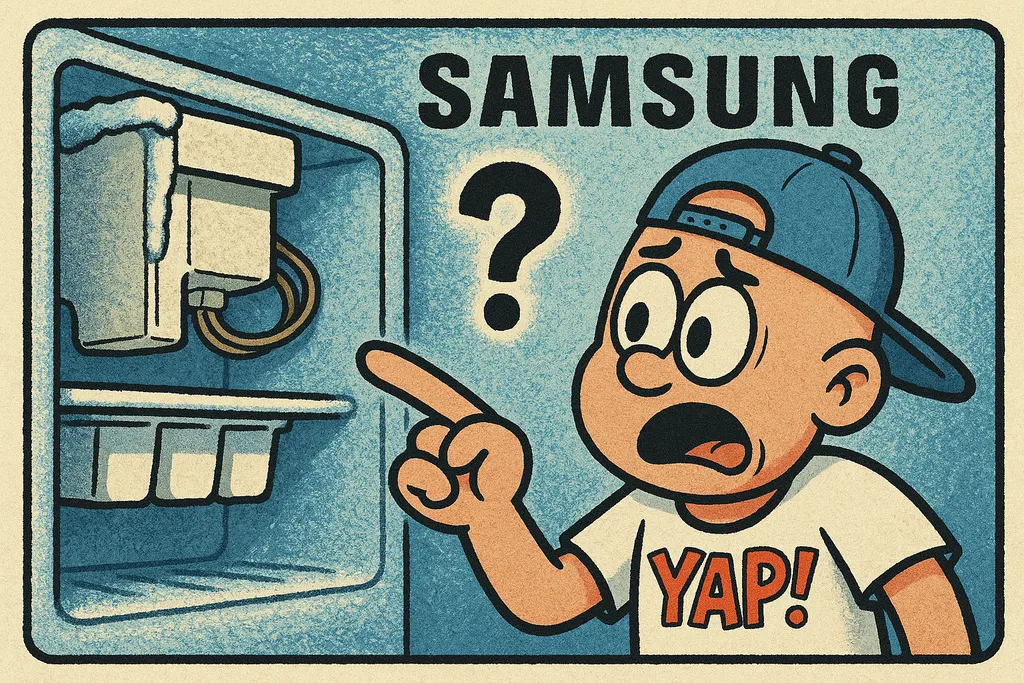
Your GE Profile refrigerator's ice maker just quit cycling and the bucket is bone dry — and now you're three days into buying bags of ice like it's a college cookout.
What's Actually Going On
Before you panic and call for a full appliance service visit, let's talk about what's happening inside that freezer. The GE Profile ice maker is a module-based system, meaning the entire harvest cycle — filling with water, freezing, ejecting cubes — is controlled by a single ice maker module assembly. When that module stops cycling, you don't get cubes. Simple as that. And nine times out of ten, when your GE fridge has no ice and the bucket's been empty for days, the module itself has given up the ghost.
The most common culprit is the ice maker module timing motor or the internal thermostat on the module failing. The module thinks the ice is never cold enough to harvest, so it just... sits there. Doing nothing. Like that one coworker we all have. The unit won't advance through its cycle, the water inlet valve never gets the signal to fill, and you get a whole lot of empty.
A couple of quick checks before you pull anything apart: First, make sure the ice maker's shutoff arm (or switch, depending on your model) is in the ON/down position — yes, this sounds obvious, but we see it constantly. Second, verify your freezer temp is actually at or below 0°F to 5°F. If it's warmer than that, the module won't cycle no matter what. If both of those check out and you've still got GE Profile ice maker not working problems, you're almost certainly looking at a failed WR30X10093 ice maker assembly.
The Fix
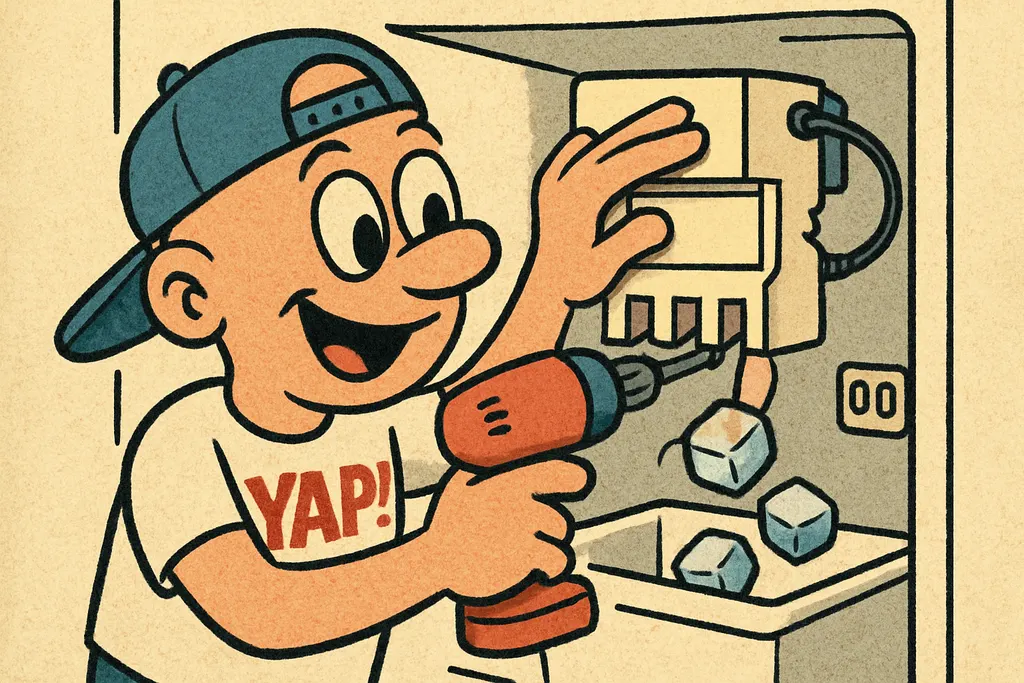
Replacing the GE ice maker module is genuinely one of the more DIY-friendly refrigerator repairs out there. Here's the play:
- Unplug the refrigerator. Not negotiable. Do this first.
- Remove the ice bucket so you have clear access to the ice maker assembly mounted on the back wall of the freezer compartment.
- Locate the wire harness connector going into the ice maker module and disconnect it — it usually has a tab you press to release.
- Remove the two to three mounting screws holding the assembly to the freezer wall. Keep those somewhere you won't lose them (seriously, put them in a cup).
- Pull the old module out and set it aside.
- Plug the wire harness into your new WR30X10093 ice maker assembly, seat it on the mounting bracket, and drive those screws back in snug — don't overtighten.
- Slide the ice bucket back in, plug the fridge back in, and give it a few hours. GE recommends up to 24 hours for the first full cycle.
The WR30X10093 is the OEM replacement GE ice maker module that fits a solid range of GE Profile side-by-side and French door models. If you want to confirm your model number before ordering, it's on a sticker inside the fresh food door — grab that and we'll cross-reference it for you in about 30 seconds.
When to Call YAP vs. DIY
DIY this one. If you can use a screwdriver and follow numbered steps, you can swap this module. It's one of the cleaner ice maker repairs out there — no soldering, no refrigerant, no drama.
Call us if you've already replaced the module and you're still getting GE fridge no ice issues — at that point we want to talk about your water inlet valve, your door switch, or your freezer temp, and we can help you diagnose the next layer without wasting money on parts you don't need.
Come swing by the YAP shop in Piedmont, OK and we'll have the WR30X10093 ready to go, or shoot us a text at 405-876-8100 and we'll confirm fitment before you make the drive. No guessing, no wasted trips, no more buying overpriced bags of gas station ice.
Part #WR30X10093 — Ice Maker Assembly
Text us the part number and your model #, and we'll check stock + price for same-day pickup in Yukon. No call centers, no hold music.
Text to order →