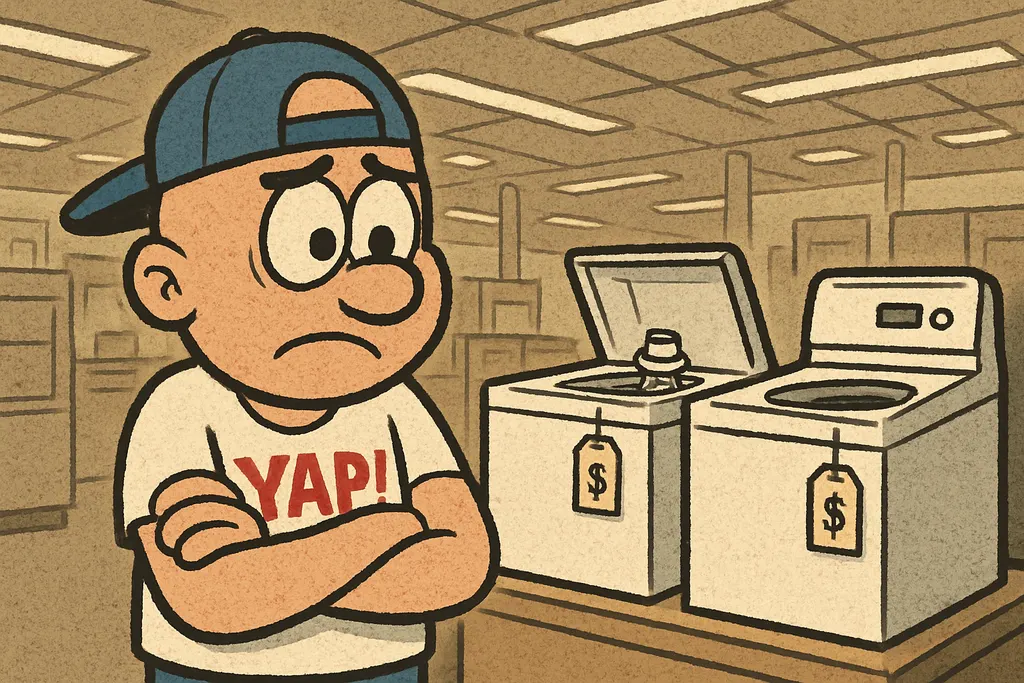
Yo, Yukon and OKC – it's your backwards-hat buddy, The YAP Dude, dropping some heat from the parts counter at Yukon Appliance Parts. Your dryer is screaming at you every time you run a load — squealing, thumping, grinding like it's got gravel in its guts — and you're standing there wondering if it's time to just buy a new one. Maybe the drum straight-up stopped spinning, or you're catching a faint burning smell and your gut is telling you something's very wrong. Bro, I hear you. Before you spend $600 on a new machine, let me put you onto one of the cleanest, most satisfying fixes in the appliance game.
What Is the 4392067 Dryer Maintenance Kit?
The 4392067 Whirlpool Dryer Maintenance Kit is exactly what it sounds like — a complete, all-in-one refresh kit for the moving parts inside your dryer that wear out over time. We're talking three separate components bundled into one box: the drive belt (661570V), two drum support rollers (WPW10314173), and the idler pulley (WP691366). These are genuine OEM Whirlpool parts — not some mystery brand from a warehouse in the middle of nowhere that fails six weeks after install.
Physically, this kit contains a long, flat rubber belt (think of a thick rubber band stretched around your drum), two small roller wheels with rubber tires that the drum rides on, and a spring-loaded pulley wheel that keeps tension on the belt. They're not fancy-looking parts. But they are the parts that make your dryer actually work as a dryer and not a loud metal box that heats air.
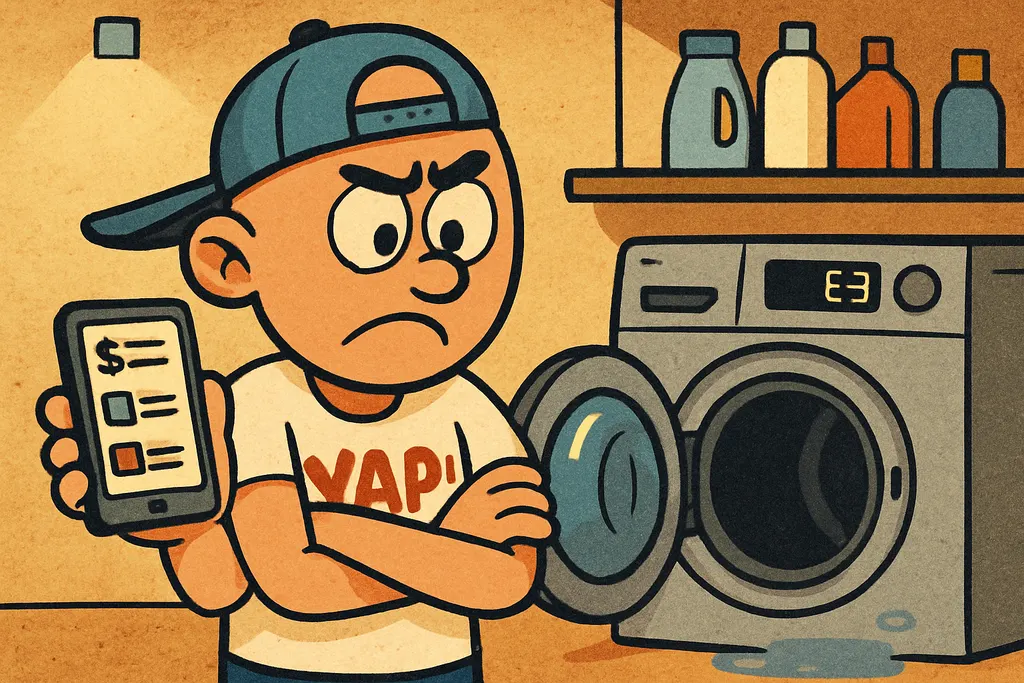
This kit fits a huge range of machines — Whirlpool WED4815EW, WED4915EW, MEDC215EW; Kenmore 110 series; Maytag MEDC215EW; Amana NED4655EW; and most 29-inch Whirlpool-built electric and gas dryers. It also replaces part numbers AP3109602 and PS373088 if you're cross-referencing. We've got it in stock right here in Yukon for $45, and that's a deal considering any appliance tech is going to charge you labor on top of parts that probably cost them the same price.
How Does It Work?
Here's the mechanical picture. When you press Start, your dryer motor spins. That motor drives the belt, which wraps all the way around the outside of the drum — a full loop. The belt is looped through the idler pulley, which is spring-loaded and pushes outward to keep constant tension on the belt so it doesn't slip. The two drum rollers sit at the back of the drum and act like little axles, letting the heavy drum spin smoothly without grinding against the dryer cabinet.
Think of it like this: the rollers are the wheels on a skateboard, the belt is the chain on a bike, and the idler pulley is the derailleur keeping that chain tight. All three have to be working right for the drum to spin smoothly and quietly. When any one of them goes bad, the whole system starts complaining — loudly.
Over time, the rubber on the rollers gets flat spots or cracks, the belt gets glazed and stiff from heat cycles, and the idler pulley's bearing wears out. When that happens, what was once a quiet, smooth 50-minute cycle turns into a thumping, squealing, burning-smell nightmare. And because they all wear at roughly the same rate, it just makes sense to replace all three at once rather than play whack-a-mole with individual parts.
Where Does It Hide in Your Appliance?
All three components of the 4392067 kit live inside the main cabinet of the dryer, surrounding the drum. Here's the breakdown:
- Drive belt — Wraps around the entire outside circumference of the drum. You have to remove the front panel and lift the drum to get to it.
- Drum rollers — Located at the rear of the drum, mounted on the rear bulkhead. You'll see two small wheel assemblies on metal shafts.
- Idler pulley — Sits on the base frame near the motor, below and slightly forward of the drum. It's the small wheel with the spring arm attached.
Quick visual tip: when you pull the front panel and look inside, the rollers look like little tire-and-wheel setups at the back. If the rubber on them looks flat, cracked, or shiny — they're toast. The idler pulley will wobble or feel rough if you spin it by hand.
Why Do These Parts Fail?
- Age and heat cycles — Every load is another heat-and-cool cycle that hardens rubber and degrades bearings. Most kits are ready for replacement around 5–10 years of use.
- Heavy Oklahoma blanket loads — Bro, Yukon winters mean heavy comforters and blankets every week. That extra weight accelerates wear on rollers and the belt.
- Lint buildup around the rollers and pulley — Lint acts like sandpaper over time, grinding down the roller surfaces and clogging the pulley bearing.
- Cold start stress in January — When your dryer sits in a cold garage all night and you fire it up with a full load, the stiffened rubber components take a beating on that first spin.
- Running with a clogged exhaust vent — Restricted airflow causes the drum to run hotter, which cooks the belt and degrades the roller rubber faster.
- Normal wear on an already-worn belt — If the belt starts slipping even slightly, it generates friction heat that accelerates its own failure and leaves that telltale burning smell.
Symptoms that point to this kit:
- Loud squealing or squeaking throughout the cycle
- Deep thumping sound that repeats rhythmically (classic flat-roller sound)
- Grinding or scraping noise
- Drum isn't spinning even though the motor is running
- Faint burning rubber smell
- Dryer stops mid-cycle or overheats without explanation
The 45-Minute Fix
This is genuinely one of the most satisfying DIY appliance repairs out there. Here's the full walkthrough:
- Unplug the dryer — No exceptions. Gas dryers: also turn off the gas supply.
- Remove the lint screen and the top panel — Usually two screws at the front of the lint trap housing. Slide the top panel back and lift it off.
- Disconnect the door switch wires — Take a photo of the connections before you unplug anything. Seriously, do it.
- Remove the front panel — Two or three screws along the bottom. The panel will hinge forward; support the drum as you remove it.
- Lift the drum out — It'll be resting on the rear rollers. Slide the belt off as you pull it forward and out.
- Replace the rear drum rollers — Pull the old rollers off the shaft (there may be a retaining clip). Slide the new WPW10314173 rollers on. Spin them by hand — they should feel smooth and free.
- Replace the idler pulley — Unclip or unbolt the old WP691366 from the base frame. Snap the new one in. Test the spring tension — it should push back firmly.
- Route the new belt — Wrap the 661570V belt around the drum (flat side against the drum), route it through the idler pulley and around the motor shaft. The belt diagram on the kit instructions is your friend here.
- Reinstall the drum, front panel, and top panel in reverse order.
- Reconnect the door switch wires (check your photo), plug it back in, and run a test cycle.
Pro tip: While you're in there, wipe out any lint buildup around the rollers, the motor, and the exhaust duct inside the cabinet. You're already in the machine — make it count.
Got questions mid-repair? Text us at 405-876-8100 and I'll walk you through it step by step.
Why Get Your 4392067 Kit From YAP
- ✅ Genuine OEM — Not the cheap overseas knockoff that fails in 6 weeks
- ✅ In Stock Now — Same-day curbside pickup right here in Yukon
- ✅ Free Delivery — Yukon, Piedmont, Mustang, El Reno, Bethany, Edmond, Moore, and the OKC metro
- ✅ Instant Match — Text your model tag to 405-876-8100 and I'll ID your part in minutes
Search
Search "4392067 Yukon" · "Whirlpool dryer squeaking OKC" · "dryer belt roller idler kit Yukon OK" · "dryer drum not spinning Mustang" · "Kenmore 110 dryer noise repair Edmond" · "Maytag dryer maintenance kit El Reno" · "noisy dryer fix Piedmont" · "Whirlpool dryer grinding sound Moore" · "dryer stops mid-cycle Bethany" · "dryer repair parts OKC same day"
Yukon tough. OKC ready. – The YAP Dude 🚀🥁
Part #4392067 — 4392067 Dryer Maintenance Kit
Text us the part number and your model #, and we'll check stock + price for same-day pickup in Yukon. No call centers, no hold music.
Text to order →