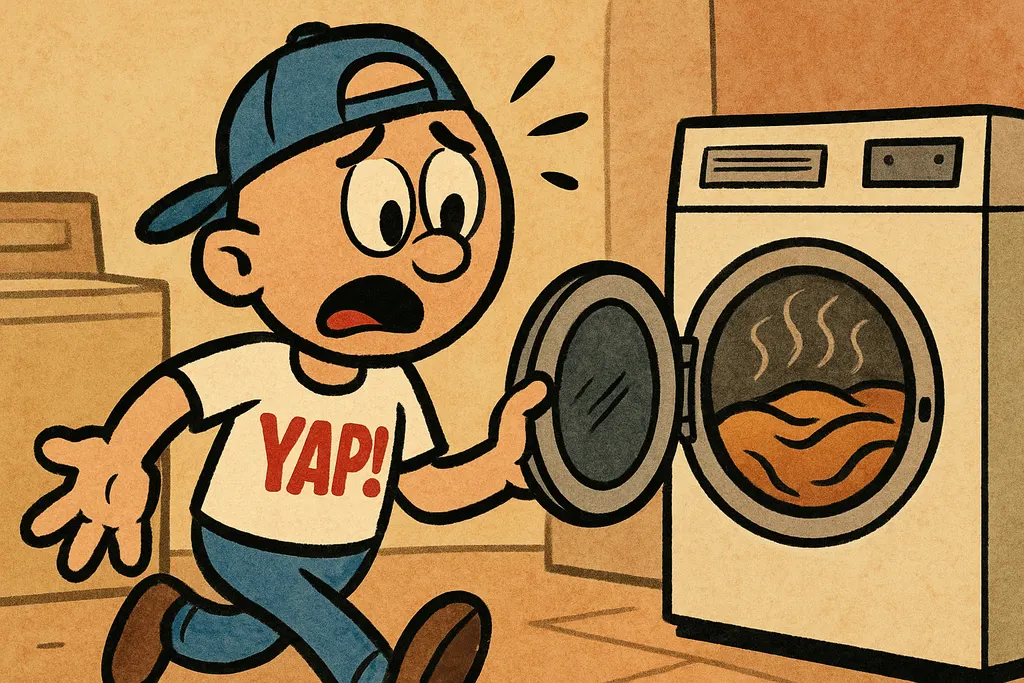
You pull a full load out of the dryer and it's still soaking wet and cold — that's not a vibe, and it's not a mystery either.
What's Actually Going On
So here's the deal: your Frigidaire electric dryer is running. The drum spins, the timer counts down, the machine does its whole routine — and then you open the door to a pile of cold, damp laundry. That's the classic sign of a Frigidaire dryer not heating, and the number one culprit in an electric dryer is a burned-out heating element.
The heating element is basically a coiled wire that gets red hot and warms the air before it tumbles through your clothes. Over time — especially if the dryer has been running with a clogged vent or just has a few years on it — that coil can snap or burn through at a weak point. When it does, you get zero heat. The motor and drum keep working fine because they're on a completely separate circuit. So the dryer "works," it just doesn't, you know, dry anything.
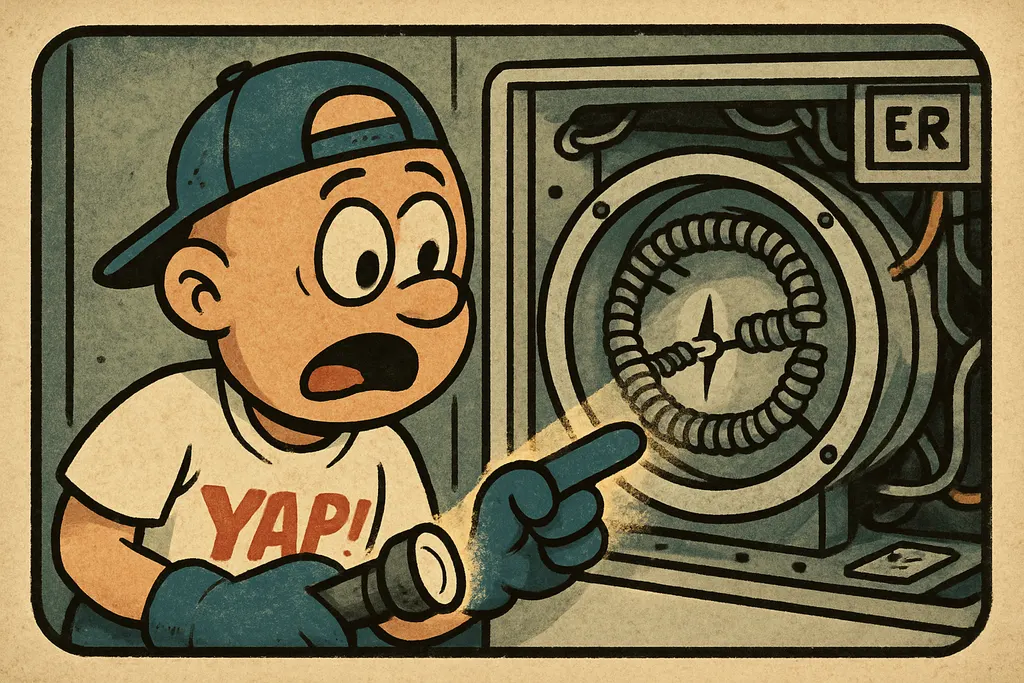
A quick way to confirm before you order parts: check whether the dryer is getting hot at all during the cycle. Put your hand near the exhaust vent after five minutes. Room temperature air coming out? Almost certainly the heating element. If you've got a multimeter, you can pull the element and test for continuity — no continuity means it's done. This is a super DIY-friendly diagnosis, bro.
The Fix
Here's what you need and how to get it done:
Part you need: Frigidaire Heating Element — Part# 5309461612
This is the OEM-spec replacement element for a wide range of Frigidaire electric dryers. We keep it in stock at the Piedmont shop. Call us at 405-876-8100 to confirm it fits your model before you make the trip.
Tools you'll need:
- Nut driver (¼" and 5/16")
- Phillips screwdriver
- Putty knife or flathead
- Multimeter (optional but helpful)
Steps:
- Unplug the dryer. Not optional. We're dealing with 240V here — respect it.
- Remove the back panel. Usually 8–10 screws around the perimeter. Set it aside.
- Locate the heating element housing. It's a metal canister on the lower right side of the back panel area — you can't miss it.
- Disconnect the wire harness from the element terminals. Take a phone pic first so you know where everything goes back.
- Remove the two screws holding the element assembly to the housing and pull the old element out.
- Test the old one with your multimeter if you want confirmation — no continuity = confirmed bad.
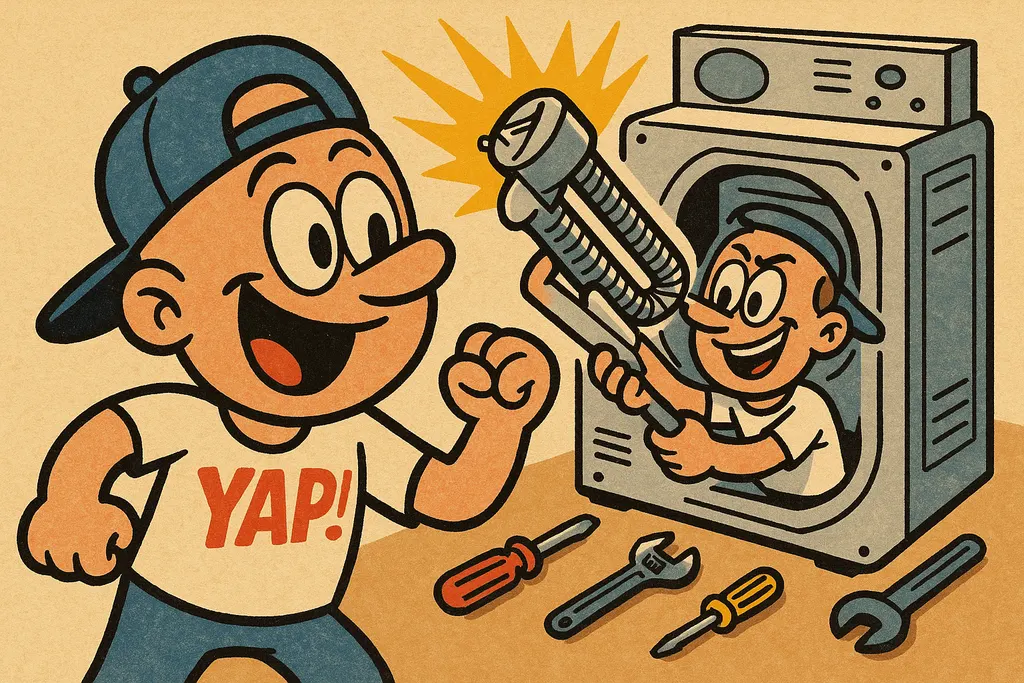
- Drop in the new 5309461612**** and secure it with those same two screws.
- Reconnect the wire harness, reinstall the back panel, plug it back in, and run a test cycle.
The whole job typically takes 30–45 minutes. If you've never done it before, add another 15 for staring at the wiring harness wondering if you got it right (you did).
When to Call YAP vs. DIY
DIY this one. If you're comfortable with a screwdriver and can follow a numbered list, this repair is squarely in your wheelhouse. The part is affordable and the labor on this one at a shop would cost you more than the element itself.
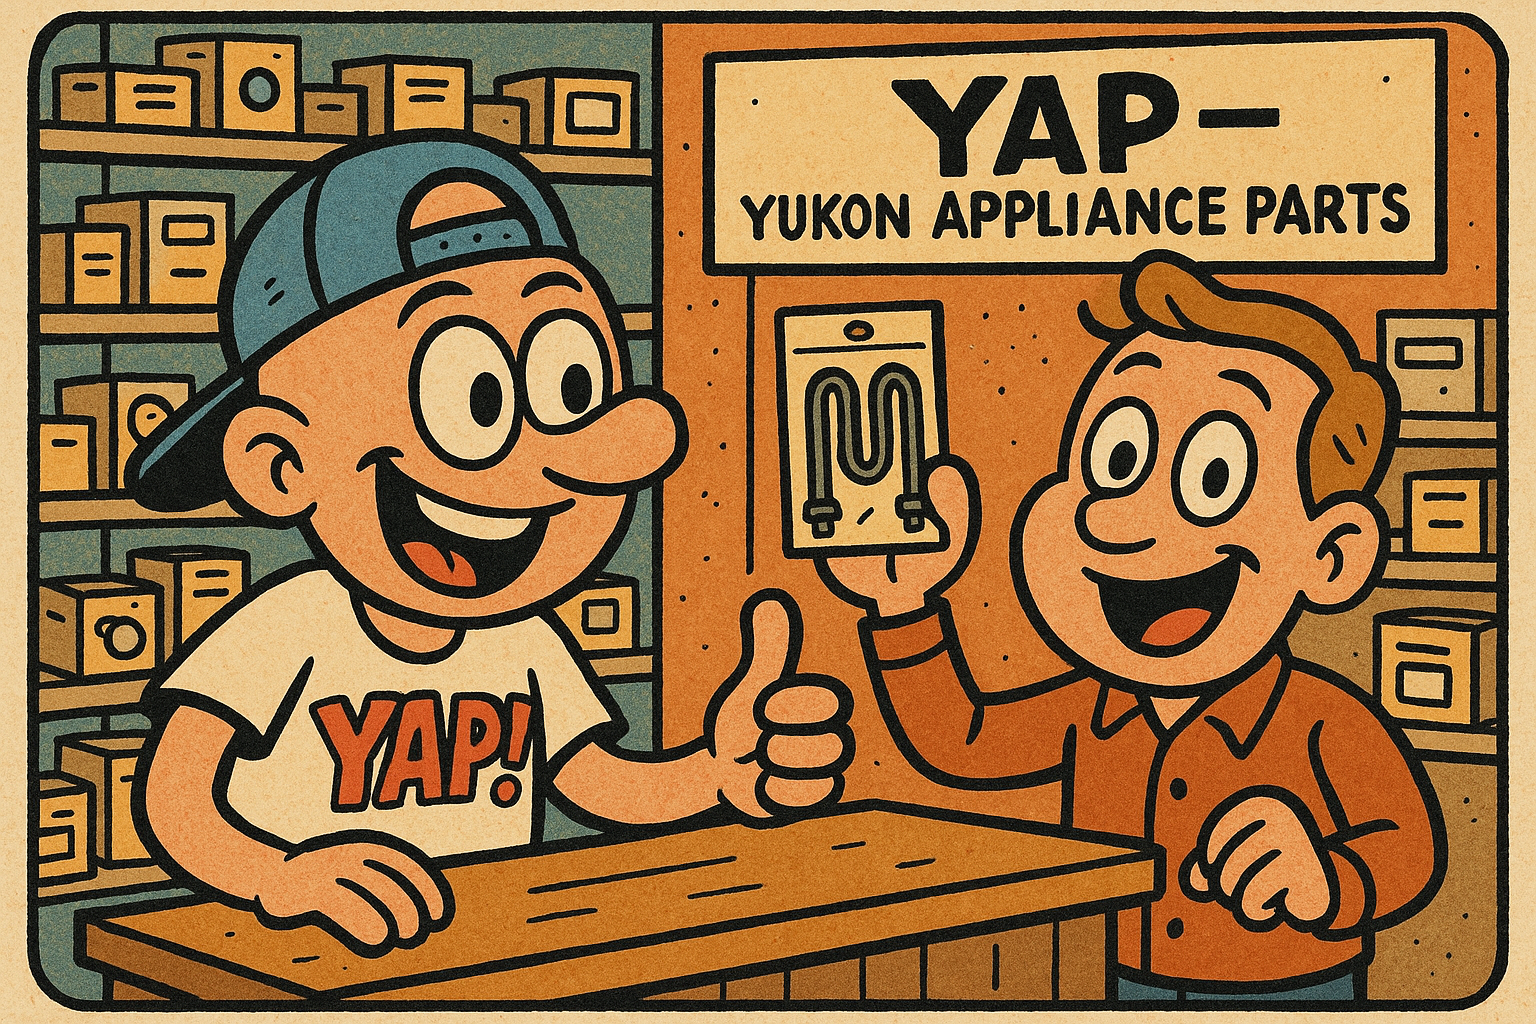
Call YAP first if you've replaced the element and still have no heat — that points to a failed thermal fuse or high-limit thermostat, and we can help you figure out what else to grab so you're not making two trips.
Swing by the Piedmont shop and we'll pull part# 5309461612 off the shelf for you, or text 405-876-8100 and we'll have it ready before you even finish your coffee. Don't pay a service tech $150 to do a 40-minute repair, fam — you've got this.
Part #5309461612 — Heating Element
Text us the part number and your model #, and we'll check stock + price for same-day pickup in Yukon. No call centers, no hold music.
Text to order →