Your GE gas oven is clicking away like it's trying to start a campfire in a rainstorm, but the burner never catches — or maybe the oven technically lights but takes forever and never hits 350°. Either way, you've got dinner plans and a dead oven. Let's fix it.

What's Actually Going On
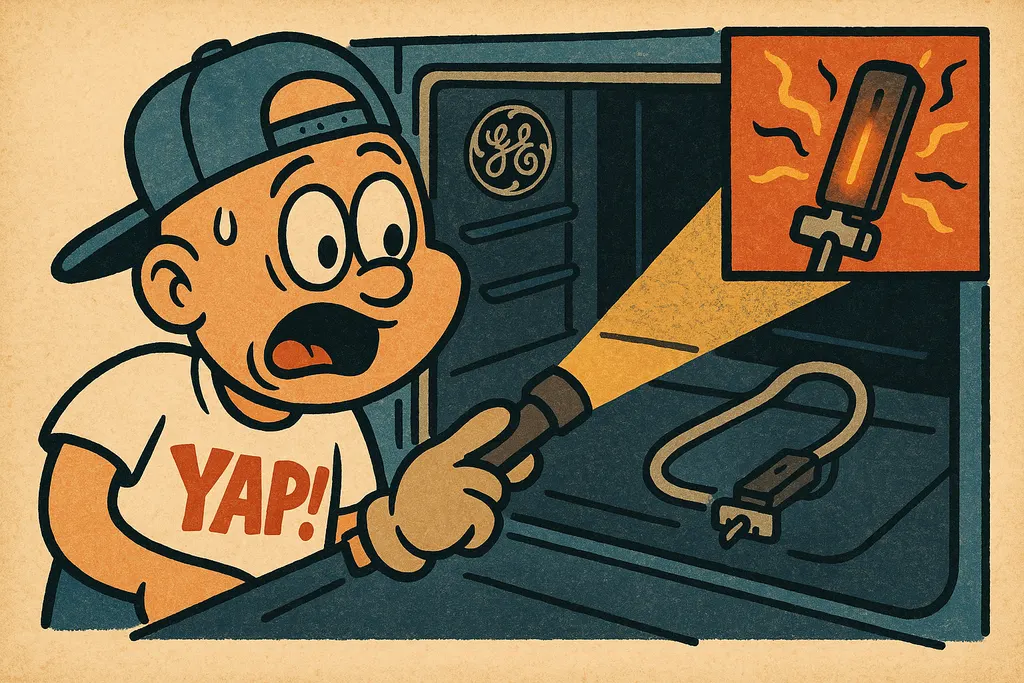
That clicking you're hearing is the spark igniter doing its job — sort of. Here's the thing people get wrong: in a gas oven, there are actually two different ignition jobs happening. The stovetop burners use a spark igniter (the clicking), but the oven bake burner uses a glow bar igniter — a completely different animal. The glow bar has to heat up hot enough to open the gas valve and light the gas at the same time. No glow, no gas, no heat. Simple as that.
When the igniter starts to wear out, it doesn't always die all at once. A weak igniter will glow, pull just enough current to technically open the gas valve, and then take 10-15 minutes to get your oven to temperature — if it gets there at all. A fully dead one just sits there while your oven clicks forever and the burner never fires. If you've got either of those situations on a GE range, the igniter is almost always the culprit.
The good news: this is one of the more forgiving DIY appliance repairs out there. The part is specific to your situation — you're looking at WB13K21, which is the flat-style glow bar igniter used across a huge range of GE gas ovens. It's not a universal "close enough" part — it's the actual OEM igniter, and that matters because the resistance specs have to match your gas valve or you'll have the same weak-ignition problem with a brand-new part.
The Fix
Here's how to swap the igniter and get back to actually cooking things:
- Unplug the oven and shut off the gas supply valve behind the unit. Non-negotiable. Do this first.
- Pull the oven door open and remove the oven racks so you've got room to work.
- Pull up the oven floor panel — it usually lifts out once you remove one or two screws at the back edge. Set it aside.
- You'll see the bake burner tube running across the bottom of the oven cavity, and the igniter mounted to the far end of it. Two screws hold it in place.
- Remove those two screws and gently pull the igniter forward. The wire harness connector is in behind/beneath — unplug it. Don't yank on it. These ceramic igniters are fragile.
- Plug the new WB13K21 into the harness, position it back on the burner bracket, and run the two screws back in — snug, not cranked down.
- Drop the oven floor panel back in, replace the racks, restore gas and power.
- Set the oven to 350° and watch through the window. You should see the igniter glow orange within 30-60 seconds, then the burner light cleanly.
Total job time: about 30-45 minutes if you've never done it before. Probably less the second time around.
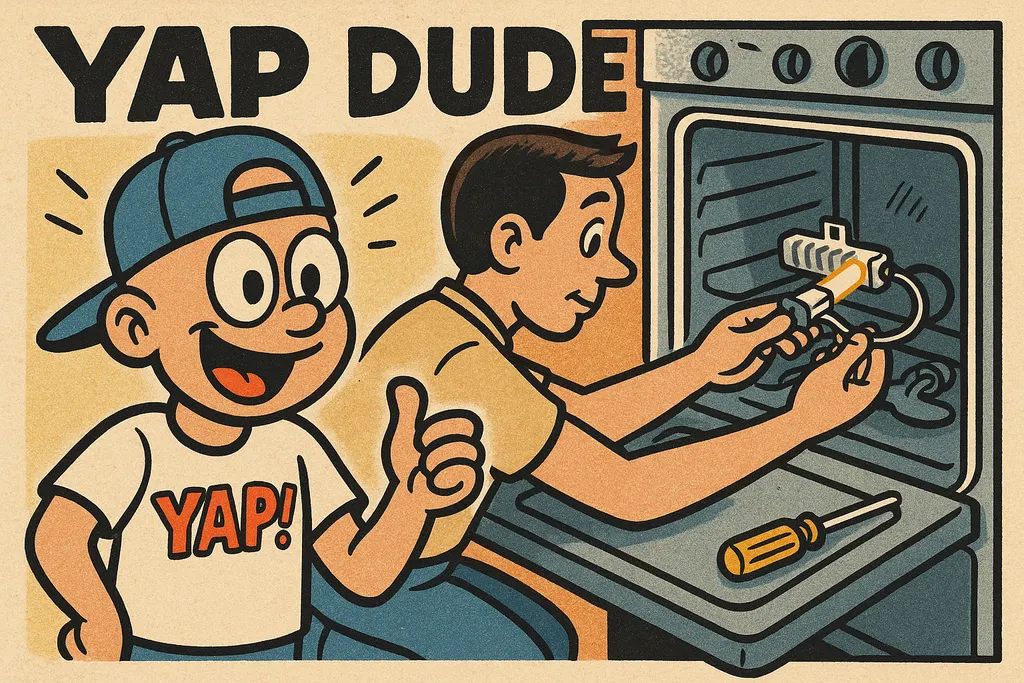
When to Call YAP vs DIY
DIY this one. Seriously — if you can operate a screwdriver and follow the steps above, you can do this repair. The WB13K21 is a clean swap with no wiring, no calibration, and no special tools.
Call us if you've already replaced the igniter and the oven still won't light — at that point you might be looking at the gas valve or control board, and that's a different conversation we're happy to have.
We've got the WB13K21 in stock at the Piedmont shop, and we can also help you confirm it's the right part for your specific model before you make the drive. Swing by or give us a ring at 405-876-8100 — we're in Piedmont, OK and we don't bite. Usually.

Part #WB13K21 — Oven Igniter
Text us the part number and your model #, and we'll check stock + price for same-day pickup in Yukon. No call centers, no hold music.
Text to order →