Yo, Yukon and OKC – it's your backwards-hat buddy, The YAP Dude, coming at you from the parts counter at Yukon Appliance Parts.
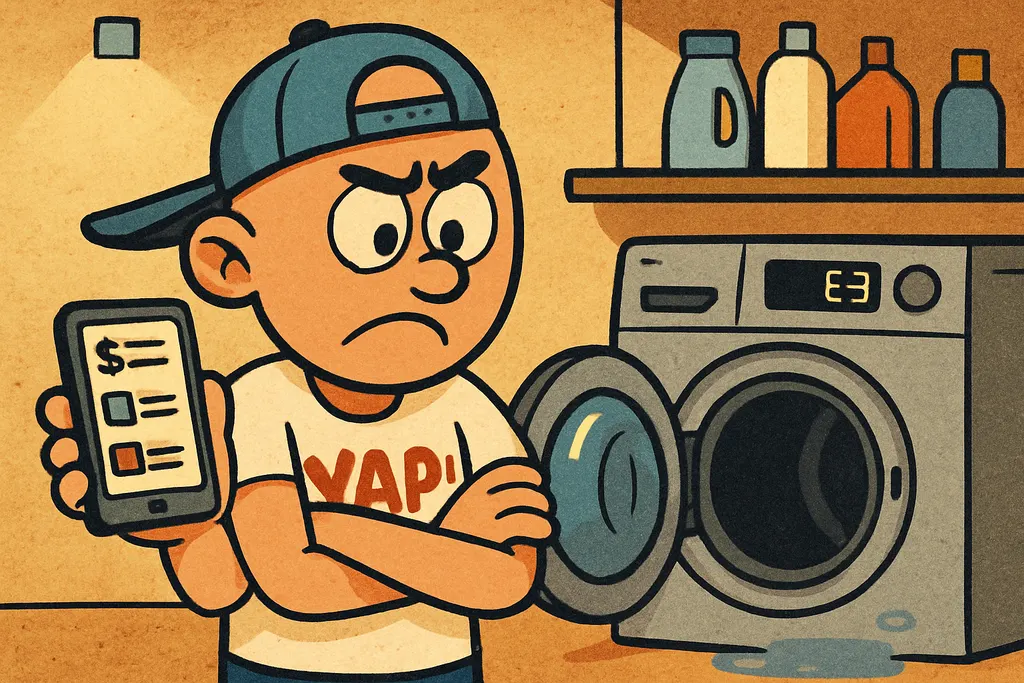
Your GE dryer has been making a noise that is genuinely hard to describe to someone who hasn't heard it — somewhere between a rhythmic thump, a metallic squeal, and what sounds like a bag of gravel tumbling inside the drum. Maybe it started subtle, a little squeak every few rotations, and now it's loud enough to hear from the other room. Maybe your clothes are taking an extra cycle to dry, or worse, you're catching a faint burning smell when the machine runs. Whatever the combination, your dryer is telling you something specific, and the message is: the bearing and drum support components are worn out.
The good news? This is one of the most fixable problems in the appliance world, and it does not require a new dryer or a service technician.
What Is the WE49X20697 GE Dryer Bearing Repair Kit?
The WE49X20697 is a genuine OEM bearing repair kit manufactured by GE specifically for their top-load dryer lineup. It is not a single part — it is a complete rebuild set that contains everything worn out at the same time: the rear drum bearing, the drum glides (also called drum slides or bearing pads), a felt drum seal, and high-temperature lubricant grease.
Think of it as a full tune-up package for your drum's support system rather than a single replacement component. That matters because these parts wear together. Replacing just one while leaving the others worn is like changing one tire on a car that needs all four — you'll be back inside the machine in a few months.
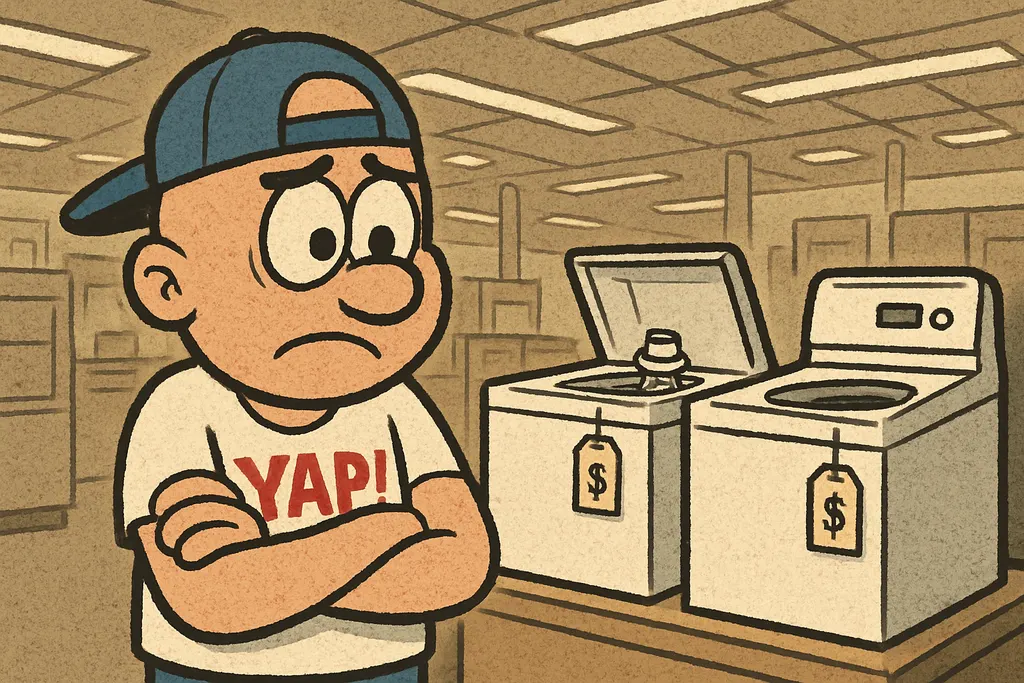
At Yukon Appliance Parts, this kit is priced at $60, which puts it well within the range of a smart repair versus an expensive service call or a premature appliance replacement. It replaces cross-reference numbers WE25X20540, AP6036369, and PS11770661, so if you've been searching under any of those, you've landed in the right place.
It fits a wide range of GE, Hotpoint, RCA, and Profile top-load dryers from 2010 forward, including popular models like the GTD33EASKWW, GTD42EASJWW, GTD45EASJWS, HTD18EASJWS, and GFDN160EJWW, among many others.
How Does It Work?
To understand why this kit fixes the noise, it helps to picture what's actually happening inside your dryer drum while a load of laundry is tumbling.
The drum in a top-load GE dryer rotates on a support system that includes a central rear bearing (which handles the axial load — think of it as the pivot point of the whole drum), drum glides along the front that allow the drum to spin smoothly against the cabinet, and a felt seal around the drum's perimeter that keeps hot air inside the drum rather than leaking into the cabinet. All of these components work together to keep the drum centered, supported, and rotating with minimal friction.
When the bearing wears down, the drum starts to wobble slightly off its axis. When the glides wear flat, the drum begins contacting the cabinet directly — plastic or metal on metal — which produces that grinding or thumping rhythm. When the felt seal deteriorates, hot air escapes the drum cavity, reducing drying efficiency and causing the heating element to work harder. The high-temp grease in the kit lubricates the bearing and glide surfaces, reducing friction and heat buildup that accelerates wear in the first place.
Replacing all four components at once with the WE49X20697 kit restores the drum to factory support geometry — quiet, centered, and efficient.
Where Does It Hide in Your Appliance?
In a GE top-load dryer, the components in this kit are located in two main areas.
The rear drum bearing is mounted at the center-back of the drum, where the drum shaft seats into a bearing cup attached to the rear bulkhead. You access this from the front of the machine after removing the front panel and lifting the drum out.
The drum glides are small plastic or nylon pads seated in slots along the front bulkhead — the inner front wall of the dryer cabinet that the front lip of the drum rests against as it rotates. Look for shiny wear marks or flat spots on the existing glides as a quick visual confirmation of wear.
The felt drum seal wraps around the outer front edge of the drum, creating a barrier between the drum and the front bulkhead. When it's worn, it often looks flattened, frayed, or discolored from heat exposure.
Why Does It Fail?
These components have a finite lifespan by design — they are wear surfaces, meaning they are meant to absorb friction so the drum itself doesn't wear. But certain conditions accelerate the process significantly.
- Heavy or oversized loads — Thick blankets, comforters, and heavy jeans put extra lateral stress on the drum bearing and glides. Oklahoma winters mean more of these loads running back-to-back.
- Running the dryer continuously for long periods — Extended heat exposure degrades both the felt seal and the lubricant grease faster than intermittent use.
- Lint buildup around the bearing and glide surfaces — Lint acts as an abrasive. Over time, it accelerates wear on the glide pads and can pack into the bearing cavity, starving it of lubrication.
- Cold-start conditions in winter — When the machine sits in a cold garage or utility room, lubricants stiffen and the bearing has to work harder during the first few minutes of operation, causing accelerated wear during startup.
- Age and cycle count — Most GE dryer drum support components are rated for roughly 5–10 years of typical use. High-use households hit that threshold faster.
- Previous repair with non-OEM parts — Aftermarket glides and felt seals often use lower-grade materials that compress faster, leading to recurring noise issues.
Symptoms that point specifically to this kit:
- Rhythmic thumping or banging during tumble that changes with drum speed
- High-pitched squealing or squeaking, especially when the drum is loaded
- Grinding or scraping sound when the drum rotates
- Drum visibly wobbles or feels loose when you rotate it by hand
- Clothes come out damp after a full cycle despite normal heat
- Faint burning or hot-plastic smell during operation
The 60–90 Minute Fix
This is a repair most homeowners can complete in an afternoon. Here's how it goes:
- Unplug the dryer completely. No exceptions. This is not a step to skip.
- Remove the top panel by releasing the clips at the front edge — typically two screws behind the lint trap and/or spring clips at the corners.
- Disconnect the door switch wiring harness and set the top panel aside safely.
- Remove the front panel — usually three to four screws along the bottom and sides. Before you disconnect anything, take a photo of all wire connections so you have a reference for reassembly.
- Support and lift the drum out of the cabinet. It will be heavier than expected, so have a clear surface ready.
- Remove the worn glides from the front bulkhead slots — they typically snap or clip in place and come out without tools.
- Remove the old felt seal from the drum's front edge — peel it away carefully and clean the surface with a dry cloth before installing the new one.
- Replace the rear bearing — remove the old bearing cup from the rear bulkhead, clean the shaft and cavity, and seat the new bearing.
- Apply the included high-temp grease to the bearing and glide contact surfaces per the kit instructions — don't skip this step, as it directly affects how long the new parts last.
- Install the new glides into the front bulkhead slots until they click into place.
- Reinstall the drum, reconnect the belt and drive pulley, and reassemble in reverse order.
- Run a short test cycle — 10 minutes with a damp towel — and listen for complete silence.
Pro tip: Clean out lint from the entire drum cavity, around the motor, and from the exhaust path while you have the machine open. This is the best access you'll ever have.
If you get partway through and want a second set of eyes, text your model number to 405-876-8100 and we can walk you through it step by step.
Why Get Your Bearing Repair Kit From YAP?
- ✅ Genuine OEM — Not the cheap overseas knockoff that fails in 6 weeks
- ✅ In Stock Now — Same-day curbside pickup right here in Yukon
- ✅ Free Delivery — Yukon, Piedmont, Mustang, El Reno, Bethany, Edmond, Moore, and the OKC metro
- ✅ Instant Match — Text your model tag to 405-876-8100 and I'll ID your part in minutes
Search
Search "WE49X20697 Yukon" · "GE dryer bearing kit OKC" · "GE dryer squeaking repair Yukon" · "dryer thumping noise fix Piedmont" · "GTD42EASJWW bearing kit Mustang" · "GE top-load dryer repair El Reno" · "dryer drum grinding noise Edmond" · "dryer bearing repair kit Moore Oklahoma" · "noisy dryer fix Bethany OK"
Yukon tough. OKC ready. – The YAP Dude 🚀🔧
Part #Y223200 — WE49X20697 GE Dryer Bearing Repair Kit
Text us the part number and your model #, and we'll check stock + price for same-day pickup in Yukon. No call centers, no hold music.
Text to order →